Are Easy Abstract Painting Techniques Good for Home Decor?
· Editorial Team · 11 min read
Last Updated: November 4, 2026
Quick Summary
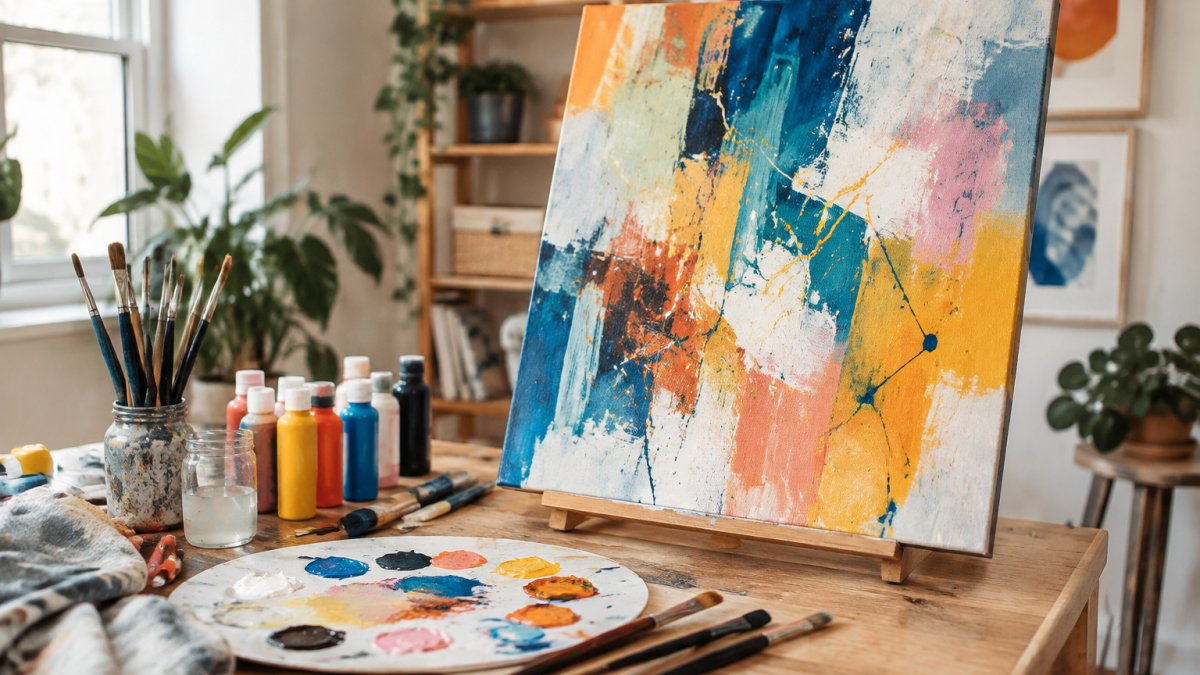
Yes, easy abstract painting techniques suit home decor well because they focus on color and texture rather than a specific subject. Palette knife blending and dry brush layering let beginners create pieces with a few tubes of acrylic and basic brushes. Choosing colors that match your room keeps the art balanced with the space.
- Palette knife blending spreads two colors into soft, uneven bands on the canvas.
- Dry brush layering uses very little paint to create broken, textured streaks.
- Start with student-grade acrylic tubes, two or three flat synthetic brushes, and a palette knife.
- A 16 x 20 inch canvas fits most walls and is easy to handle at a table.
- Limit each piece to one dominant color, one supporting color and one accent.
Table of Contents
- Easy Abstract Painting Techniques That Work for Beginners
- Choosing the Right Acrylic Paint Supplies for Home Decor
- How to Choose Colors for Abstract Art That Fit Your Room
- Abstract Painting Step-by-Step Guide: From Blank Canvas to Finished Piece
- Common Mistakes Beginners Make and How to Fix Them
- Cleaning Brushes and Sealing Your Finished Piece
- Start Your First Abstract Piece This Weekend
- Frequently Asked Questions
Easy Abstract Painting Techniques That Work for Beginners
Learning abstract painting techniques is one of the most forgiving ways to start making art at home, and the results work well as decor. Many beginners find that abstract pieces suit almost any room because they focus on color and texture rather than a specific subject.
Two techniques do most of the work for beginners. You can learn both with a few tubes of acrylic and a basic set of brushes.
Palette Knife Blending
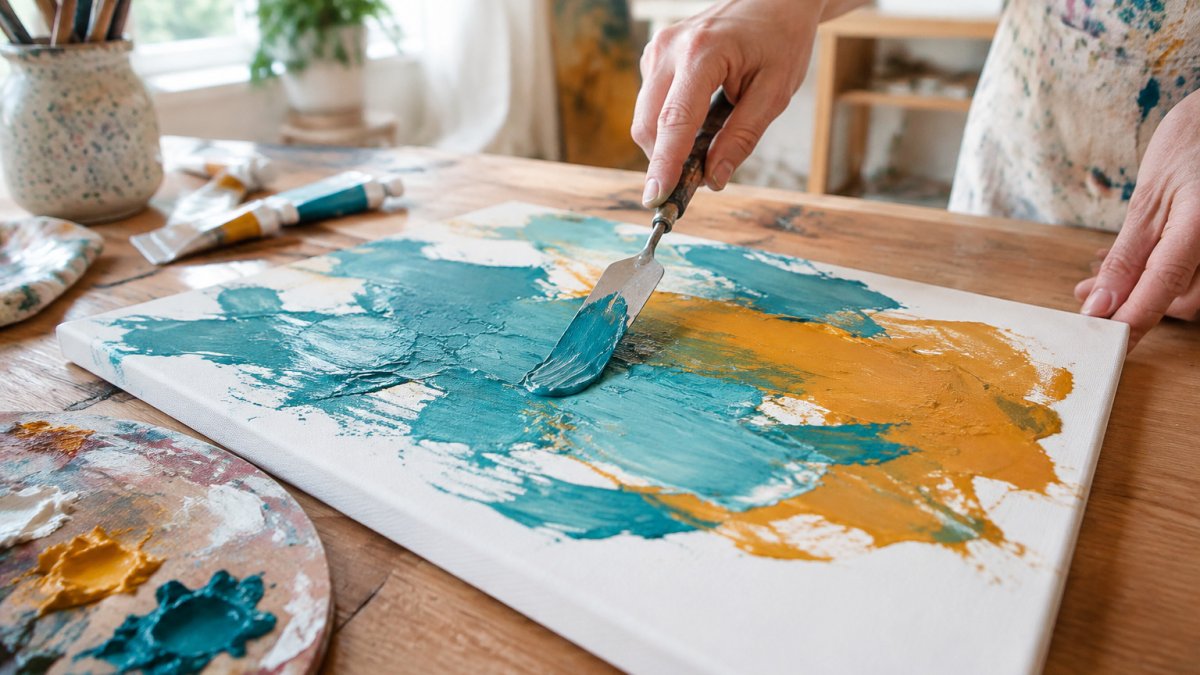
A palette knife lets you spread thick layers of paint in broad, smooth strokes. Load the knife with two colors, press them together on the canvas, and drag once or twice. The colors blend into soft, uneven bands that look deliberate even when you didn't plan them.
- Use a flexible metal palette knife rather than a stiff one
- Work fast while the acrylic is still wet
- Stop before you overwork the mix, since too many passes turn colors muddy
Dry Brush Layering
Dry brush means you load a brush with very little paint and drag it lightly across the canvas. The paint catches on the raised texture of the surface and leaves broken, textured streaks. Layer a second or third color on top to add depth.
- Wipe most of the paint off the brush on a paper towel first
- Let each layer dry partly before adding the next
- Keep strokes loose; the uneven look is the point
Choosing the Right Acrylic Paint Supplies for Home Decor
Start with a small kit rather than a large one. Most beginners need a handful of student-grade acrylic tubes, two or three flat synthetic brushes, a palette knife, a canvas or canvas panel, and a roll of paper towels. Student-grade paint is a common budget-friendly choice for learning.
Canvas size matters for home decor. A 16 x 20 inch canvas fits most walls and is easy to handle at a table, while larger pieces take more paint and more time.
How to Choose Colors for Abstract Art That Fit Your Room
Pick colors from the room you plan to hang the piece in. Look at the sofa, rug or curtains and choose two or three shades that already appear there. This keeps the art from clashing with the space.
A simple rule helps: choose one dominant color, one supporting color and one accent. Abstract pieces look balanced when the accent appears only in small amounts.
Abstract Painting Step-by-Step Guide: From Blank Canvas to Finished Piece
Follow these steps to finish a piece in one session:
- Tape the canvas edges and set out your three colors on a palette
- Lay down a base layer of your dominant color with a wide brush
- Add your supporting color using palette knife blending
- Dry brush the accent color in a few places
- Let the piece dry for several hours before judging the balance
Stand back every few steps and check the overall shape of the color. Most beginners add too much detail too early, so stop when the composition feels balanced.
Here is a quick summary of the steps to finish an abstract piece in one session.
| Step | What to do | Time |
|---|---|---|
| 1 | Tape canvas edges and set out three colors | Before you start |
| 2 | Lay a base layer of dominant color with a wide brush | First layer |
| 3 | Add supporting color using palette knife blending | Same session |
| 4 | Dry brush the accent color in a few places | Same session |
| 5 | Let the piece dry before judging the balance | Several hours |
Common Mistakes Beginners Make and How to Fix Them
Most beginner problems fall into a few predictable patterns. Knowing the symptom and its likely cause saves you from repainting the whole canvas.
Muddy or Gray Color
Mixing too many colors together turns them brown or gray. Limit yourself to three colors per piece, one dominant, one supporting, one accent, and mix small amounts on a palette rather than on the canvas. If a mix goes muddy, scrape it off with a palette knife and start fresh instead of adding more paint to correct it. Keeping each color clean also depends on how you handle the blade, and palette knife techniques can help you scrape away muddy paint without disturbing the rest of the composition.
Overworked Wet Paint
If the surface starts to look patchy or the colors blend into a uniform haze, stop brushing. Let the layer dry and add a fresh layer on top. Acrylic dries fast enough that a short pause is usually all you need.
Splayed or Bent Bristles
Bristles that fan out or bend to one side usually come from drying a brush tip-down or from scrubbing it in circles. Reshape the tip with your fingers while damp and dry it flat or tip-up. A brush that stays splayed after reshaping may need to be retired.
Paint Buildup at the Ferrule
Paint that creeps into the metal band hardens and pushes bristles apart. Clean the brush promptly after each session and keep the water line below the ferrule. Once paint dries in the ferrule, soak only the tips in warm soapy water and work the soap through gently; do not dig at it with a tool.
Loose Brush Head
A brush head that wobbles usually means water has softened the glue inside the ferrule. Avoid prolonged soaking and never leave a brush standing in water. If the head is already loose, the brush is usually beyond repair.
Canvas That Looks Flat
Flat-looking pieces often lack contrast rather than detail. Stand back and check whether one color dominates too evenly.
Cleaning Brushes and Sealing Your Finished Piece
Brush care is where most beginners lose their tools. Acrylic dries fast and hard, and a brush left dirty for even an hour can develop bristles that feel like a stiff broom. The fix is a repeatable routine, not a single rinse.
Clean During the Session
Keep a jar of clean water and a roll of paper towels within reach. Between colors, wipe the brush on a paper towel, swish it in the water, wipe again, and blot the tip. This keeps colors from muddying each other and stops paint from creeping toward the ferrule, the metal band that holds the bristles. Paint that dries inside the ferrule pushes bristles apart and can eventually loosen the brush head.
Watch out: never stand a brush tip-down in water for more than a few minutes. Water wicks into the ferrule, swells the handle, and can crack the finish or loosen the glue.
Clean After the Session
- Wipe off excess paint with a paper towel before touching water. Rinsing first only dilutes the paint and drives it deeper into the bristles.
- Rinse the bristles in clean water, working from the ferrule toward the tip. Keep the water line below the ferrule.
- Add a drop of mild soap or brush soap to your palm and work it gently through the bristles with your fingers. Avoid scrubbing in circles, which bends the tips.
- Rinse until the water runs clear, then reshape the tip with your fingers.
- Lay the brush flat to dry or stand it tip-up in a jar. Never dry tip-down, since water will pool in the ferrule.
Match the Cleaner to the Bristle
Synthetic brushes, the nylon and polyester types most beginners buy, handle mild soap and water well. Natural-hair brushes, such as hog bristle or sable, are more porous and can dry out or splay if soaked too long; use a brush soap and keep the soak brief. Avoid harsh solvents like acetone on any brush with a painted handle or glued ferrule, since they can strip the finish and weaken the bond. If a brush feels stiff after drying, a quick wash with brush soap and a reshape usually restores it.
Rescue Dried Acrylic
If paint has dried near the ferrule, soak only the bristle tips in warm water with a little brush soap for a few minutes, then work the soap through with your fingers. Do not use boiling water or harsh chemicals, which can melt synthetic bristles or damage the handle. Brushes with paint hardened deep in the ferrule may not recover; set those aside rather than risk damaging the bristles further.
Seal the Finished Piece
Once the painting is fully dry, usually 24 hours for acrylic, apply a clear acrylic sealer. Check the label for a matte or gloss finish that suits your room, and apply it in a well-ventilated space. Follow the label for dry time between coats.
Start Your First Abstract Piece This Weekend
You don't need special training to start. Pick two colors, grab a palette knife, and spend one afternoon on a small canvas. Many beginners find their first piece is good enough to hang, and each one after that gets easier. PaintPrompt can help you find a design and a step-by-step plan whenever you want a starting point.
Frequently Asked Questions
What is the best thing to clean acrylic paint brushes with?
Rinse brushes in water right after use while the paint is still wet, then work a small amount of artist's soap or mild brush soap gently through the bristles with your fingers. Rinse until the water runs clear, reshape the tip, and lay the brush flat or bristles-up to dry. Avoid leaving brushes soaking in a water pot for long periods, because water can loosen the glue at the ferrule and splay the bristles. Dish soap can work in a pinch, but dedicated brush soap is gentler on bristles over time and is a better choice for brushes you plan to keep.
What are the best abstract painting ideas for beginners?
Start with techniques that forgive mistakes, such as palette knife blending, dry brush layering, and pouring thinned acrylics in controlled color bands. These methods produce strong textures without requiring drawing skill. Limit your palette to three or four colors plus white, and work on a canvas no larger than 16 by 20 inches for your first few pieces. Small pieces let you finish in one session and see the effect of each step quickly, which builds confidence faster than a large, unfinished canvas.
How do I seal abstract paintings for long-term display?
Let the painting cure for at least one to two weeks before sealing, since acrylic can remain slightly soft for some time after it feels dry. Apply a clear acrylic varnish in a thin, even coat with a wide, soft brush or spray varnish in light passes, then let it dry fully before applying a second coat if needed. Choose a satin or matte finish if you want to reduce glare on a decorative piece. Keep finished work out of direct sunlight to slow fading and dust buildup over time.
