How to Plan Paint and Sip Classes: 2026 Guide
· Editorial Team · 10 min read
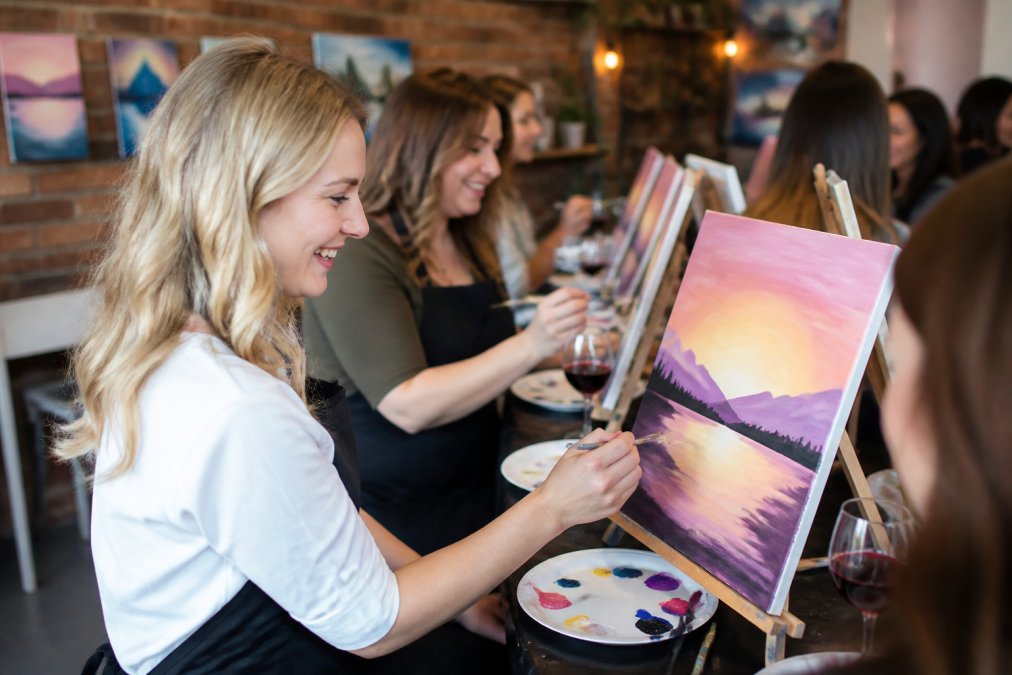
Table of Contents
- Why Planning Paint and Sip Classes Well Matters
- Step 1: Choose a Theme and Design Your Painting
- Step 2: Build Your Paint and Sip Supply List
- Step 3: Pick a Venue, Date, and Time
- Step 4: Plan Your Beginner Painting Class Curriculum
- Step 5: Set a Paint and Sip Class Pricing Strategy
- Step 6: Learn How to Teach a Paint and Sip Class
- Step 7: Handle Logistics, Legalities, and Fun Extras
- Frequently Asked Questions
Last Updated: September 9, 2026
Planning a successful paint and sip event comes down to preparation, not artistic talent. Whether you are a studio owner mapping out a monthly calendar or a first-time host organizing a friend’s birthday, the difference between a chaotic afternoon and a polished experience is the structure you build beforehand. This guide from PaintPrompt walks through the seven decisions that shape every great paint and sip class, from your first theme idea to the final cleanup checklist.
The core of a paint and sip class is a social painting session where guests follow step-by-step instruction to complete a single artwork, usually with a drink in hand. When the logistics are handled in advance, you free yourself to focus on what actually matters: keeping the energy up and making sure every guest leaves with a painting they are proud of. Below, we’ll show you exactly how to plan paint and sip classes that run smoothly, covering themes, supplies, venues, pricing, and the legal details most hobbyist guides overlook.
Why Planning Paint and Sip Classes Well Matters
Strong planning turns a loose idea into a repeatable event that guests will book again. A well-structured class gives beginners the confidence to finish, which is the single biggest factor in whether they return or recommend you to friends.
Most hosting problems trace back to decisions made before anyone picks up a brush. Unclear instructions lead to confused guests. Missing supplies cause mid-class scrambles. A theme that is too complex frustrates beginners. Each of these issues is preventable with a clear plan that considers your audience's artistic skill level and the time you have available.
Step 1: Choose a Theme and Design Your Painting
Your theme sets the tone for the entire event, so pick something your specific group will actually enjoy. Popular options include seasonal scenes, local landmarks, holiday motifs, or abstract designs that look impressive but require minimal brush control.
For mixed groups with varying experience levels, choose a subject that can be broken into clear stages. A sunset with a silhouette, for instance, lets beginners succeed with color mixing while more confident painters add detail. Sketch the composition yourself or use a reference, then simplify it to roughly five to seven steps. Each step should introduce one new painting technique, such as a specific brush stroke or color block, without overwhelming the instructor or the guests.
Step 2: Build Your Paint and Sip Supply List
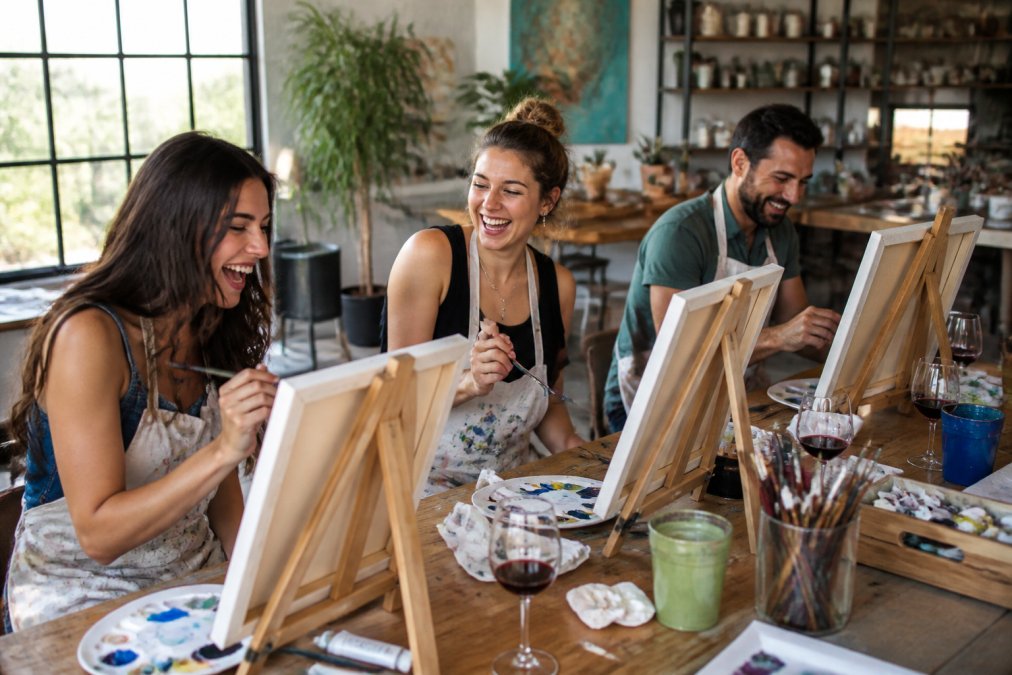
A reliable paint and sip supply list covers canvases, acrylic paint, brushes, palettes, easels, aprons, paper towels, and water cups for rinsing. Buy in bulk where you can, and always keep extras on hand for spills or last-minute attendees.
Quality matters more than quantity for the guest experience. Student-grade acrylic paint is affordable and works well, but cheap brushes that shed bristles will frustrate everyone. Stock a range of brush sizes, with flat brushes for backgrounds and round brushes for detail. Pre-pour paint onto individual palettes before guests arrive to cut down on class time and mess.
Step 3: Pick a Venue, Date, and Time
Your venue should match the size of your group and the atmosphere you want to create. A dedicated studio offers easels and sinks, while a home or office setup requires you to bring tables, drop cloths, and your own cleanup plan. Confirm that the space has adequate lighting, seating for every guest, and surfaces that can handle paint and spills.
Weekday evenings and weekend afternoons tend to draw the most attendees for social events. Consider your audience: corporate team-building works best during business hours, while a girls' night out suits a Friday evening. For a DIY party at home, schedule at least two hours for a standard class, plus buffer time for late arrivals and extended socializing.
Step 4: Plan Your Beginner Painting Class Curriculum
A beginner painting class curriculum should move from simple to slightly more complex, with each step building on the last. Structure your session so guests feel a sense of progress within the first fifteen minutes.
A proven flow for a two-hour class looks like this: (arts.gov)
- Welcome guests and explain the session flow (5 minutes)
- Sketch or block in the main shapes with pencil (15 minutes)
- Paint the background or sky (20 minutes)
- Add the middle ground and main subject (30 minutes)
- Finish with details and highlights (20 minutes)
- Clean up and display finished work (15 minutes)
Keep your verbal instruction tight and visual. Demonstrate each step on your own canvas while walking the room to help anyone who falls behind. Guests are there to relax, so prioritize encouragement over perfection.
Step 5: Set a Paint and Sip Class Pricing Strategy
Your paint and sip class pricing strategy needs to cover supplies, venue costs, your time, and still feel fair to guests. Rather than quoting a fixed industry rate, calculate your real costs per head and add your desired margin. For private events, factor in travel time and any venue rental fees.
Pricing varies widely by market, so check what similar events charge in your area and position yourself accordingly. For corporate team-building or private parties, quote a flat rate for the group rather than a per-person price. Many hosts also offer tiered options, such as a basic class or a premium package with a hosted bar, to capture different budgets.
Step 6: Learn How to Teach a Paint and Sip Class
Teaching a paint and sip class is less about artistic mastery and more about clear communication and positive energy. You do not need to be a professional painter, but you do need to explain each step in plain language and keep the room moving at the same pace.
Speak loudly enough for the whole room, and demonstrate each technique before asking guests to try it. Circulate constantly to offer individual help, and watch for guests who are falling behind so you can assist them before they give up. A common mistake is spending too long on one guest's canvas while the rest of the room waits. Keep corrections brief and positive, and remind the group that there are no mistakes, only happy accidents.
Step 7: Handle Logistics, Legalities, and Fun Extras
The final layer of planning covers the details that keep your event safe and enjoyable. This includes food and beverage pairing, atmosphere, accessibility, and the legal side of serving alcohol.
For beverages, wine is the classic choice, but offer non-alcoholic options and water. Check your state and local regulations on serving alcohol, as rules for licensed venues differ from private residences, and consider whether you need liability insurance for public events (atf.gov). Make your class inclusive by choosing venues with wheelchair access and offering adaptations for guests with limited hand mobility.
Planning paint and sip classes well is what separates a one-off novelty from a thriving recurring event. The hosts who succeed treat preparation as seriously as the painting itself, locking down themes, supplies, venues, and pricing before a single guest arrives. Tools like PaintPrompt simplify this process by generating class-ready designs with step-by-step instructions, color lists, and printable teaching guides in seconds, so you can spend your energy on hosting, not homework. Get started with PaintPrompt and generate your first class design today.
Frequently Asked Questions
How long should a typical paint and sip session last?
Most successful paint and sip classes run between 2 and 3 hours. This allows about 15 minutes for guests to settle in and get their supplies, 90 minutes to two hours for the actual painting instruction, and a buffer at the end for finishing touches and cleanup. A shorter 90-minute session works for corporate events or team building. A longer 3-hour slot suits a girls' night out where socializing is as important as the painting.
What supplies do I need to host a paint and sip class?
For each guest, plan on a pre-stretched 16x20 canvas, a set of acrylic paints in the colors used for the class design, a palette, and a few essential brushes like a flat, a round, and a liner brush. You will also need easels or flat tables, aprons or old shirts, paper towels, and cups for rinse water. Don't forget the 'sip' part: wine glasses, a bottle opener, and non-alcoholic options. Your paint and sip supply list should also include a printed guide for each guest.
How do I price my paint and sip classes for profit?
Your paint and sip class pricing strategy must cover your per-person supply cost, venue fees, instructor time, and marketing expenses. Start by calculating the total cost for one guest's materials. Then add a margin for your time and overhead. Compare your final price to other local creative workshops to make sure it's competitive. For private events, consider a flat fee that guarantees your profit even if attendance is lower than expected. Check similar studios in your area to calibrate your rates.
Are sip and paint classes profitable?
Yes, paint and sip classes can be a profitable business, but the profit margin depends heavily on your pricing and class size. Since the main costs are supplies and your time, hosting larger classes of 15 to 20 guests is where you see real return. Profitability also improves when you run recurring events, sell additional merchandise like brushes or prints, and keep your marketing costs low through social media and email lists. Plan your class budget carefully to make sure you are not just covering costs.