Buying Painting Lesson Plans vs Manual Planning
· Editorial Team · 12 min read
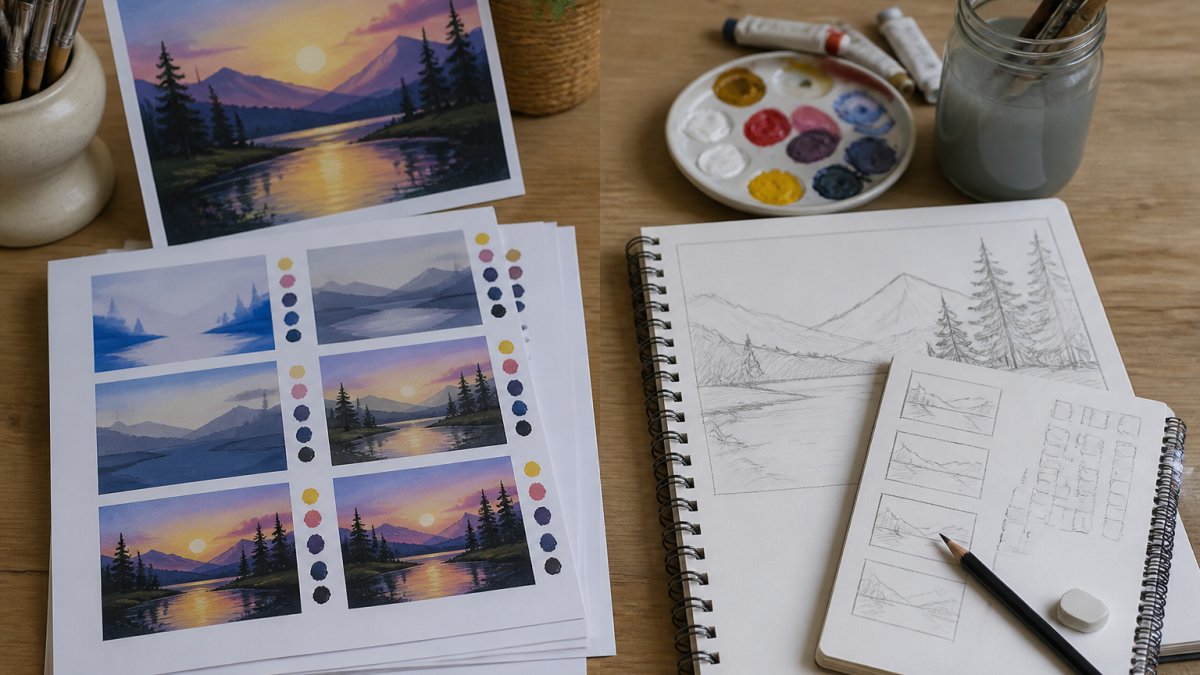
Table of Contents
- Painting Lesson Plans: The Core Comparison
- How to Plan a Painting Class Manually
- Creating a Painting Class Lesson Plan Template
- Painting Lesson Planning Tools Compared
- A Painting Lesson Plan for Beginners: What Changes
- Where Each Approach Wins
- Conclusion
- Frequently Asked Questions
Last Updated: October 18, 2026
Painting Lesson Plans: The Core Comparison
Buying painting lesson plans means paying for a ready-made class structure you can teach tonight. Manual planning means building that structure yourself from scratch. This guide from PaintPrompt breaks down both paths so you can pick the one that fits your studio, your schedule, and your students.
The trade-off is simple. Purchased plans cost money but save hours. Manual plans cost hours but save money. Most instructors assume the free route is always smarter. It rarely is once you count the prep time.
Below, we compare cost, quality, and consistency, then walk through a manual planning workflow you can actually use.
Cost and Time at a Glance
Purchased plans front-load the cost and back-load the savings. Manual planning does the opposite.
A manual plan for one class typically eats two to four hours: choosing a subject, testing the composition, mixing colors, writing steps, and building a sketch guide. Multiply that by a month of classes and you have lost a full workday or more.
Purchased plans compress that prep into minutes. You still review the plan and gather supplies, but the design, step sequence, and color list are done.
| Factor | Buying Plans | Manual Planning |
|---|---|---|
| Upfront cost | Subscription or per-plan fee | Free |
| Prep time per class | Minutes | 2-4 hours |
| Consistency across classes | High | Varies by week |
| Customization | Limited to the plan | Unlimited |
| Risk of a dud design | Low if vetted | Falls on you |
Quality and Consistency
Consistency is where purchased plans pull ahead, and it is the factor most instructors underestimate.
When you plan manually week after week, quality drifts. A strong design in week one gets followed by a rushed one in week three when you are tired. Students notice. A class that cannot finish its painting in the time slot creates frustration, and frustrated guests do not rebook.
Purchased plans enforce a repeatable standard. Every design ships with a step sequence tested for a set class length. That predictability matters most for paint and sip formats, where the whole promise is that a beginner walks out with a finished canvas.
Manual planning can match that standard, but only if you build a template and stick to it. That is the next section.
How to Plan a Painting Class Manually
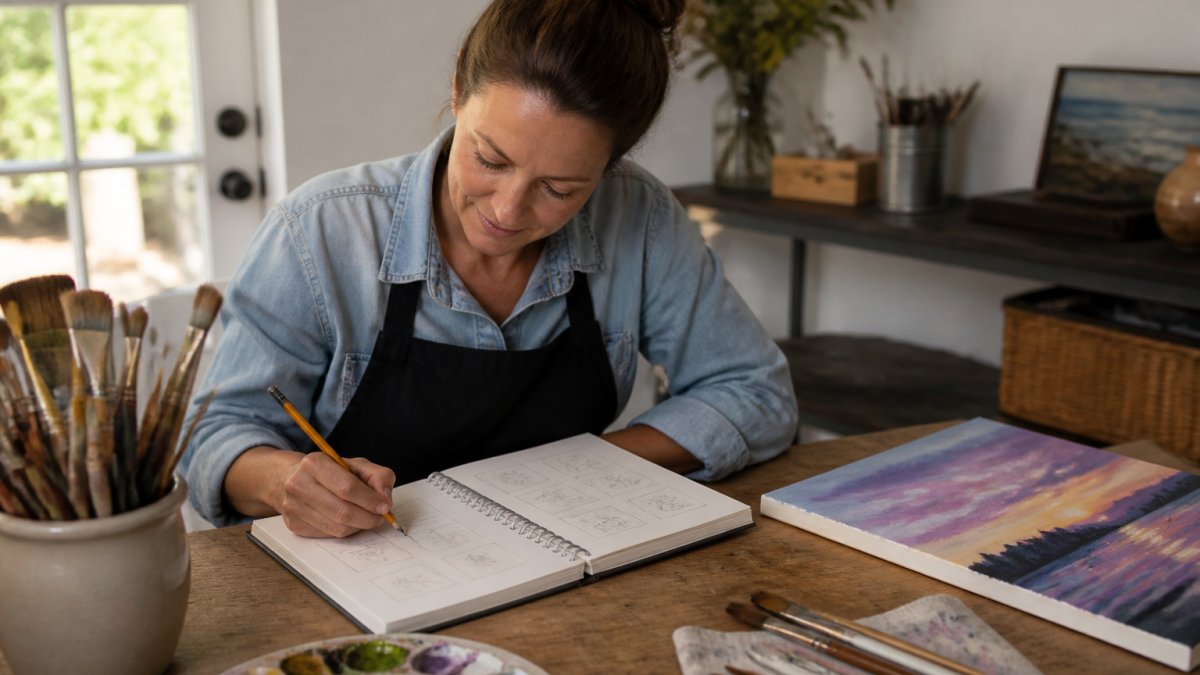
Manual planning works when you follow a fixed sequence instead of improvising each week. Here is the workflow we recommend.
- Set the class length and skill level. A two-hour beginner class supports a simpler composition than a three-hour session.
- Choose a subject with clear shapes. Landscapes, sunsets, and simple still lifes block in easily. Complex figures do not.
- Paint it yourself first. Time each stage. If you cannot finish in the slot, students cannot either.
- Write the steps in plain language. Aim for 8-12 steps. Anything longer loses the room.
- Build a shape guide. A faint outline on the canvas lets beginners see where to block in.
- Lock the color list. Fewer colors means fewer mixing mistakes.
- Dry-run the instructions with a non-painter. If they get stuck, your students will too.
That is roughly three hours of work per class. Do it once and you have a reusable plan. Do it every week and the hours compound.
Creating a Painting Class Lesson Plan Template
A reusable painting class lesson plan template is the single biggest time saver in manual planning. Build it once, then fill in the blanks.
Structure your template around these fields:
- Class title and duration
- Skill level and target audience
- Finished image reference
- Materials list with quantities per guest
- Color palette with mixing notes
- Step-by-step sequence with time estimates per step
- Shape guide or preliminary sketch
- Cleanup and drying notes
Once the template exists, planning a class drops to about an hour. That is the hybrid most experienced instructors settle into: their own template, filled faster with outside help.
Painting Lesson Planning Tools Compared
Tools split into two camps: free libraries and paid platforms. Free libraries are broad but generic. Paid platforms trade money for class-ready structure.
Free Libraries and Paid Platforms
Free lesson libraries from art supply retailers and art education sites offer real value, especially for classroom teachers. The catch is fit. Most free plans target school settings, not adult paint and sip events, and many do not include a printable guest guide or a tested class-length sequence.
Paid platforms solve that gap. PaintPrompt, for example, generates a class-ready design from a short description, then delivers a 10-step guide, a color list, and a printable teaching plan. It was built by real paint & sip hosts, which shows in the beginner-friendly compositions. A free trial lets you test it before committing, and current pricing is on the PaintPrompt site.
Dick Blick's free art lesson plan library is a solid starting point if budget is the priority.
A Painting Lesson Plan for Beginners: What Changes
A painting lesson plan for beginners needs three things a general art plan does not: a simple composition, a fixed color palette, and a shape guide.
Beginners freeze when facing a blank canvas with too many choices. Reduce the decisions. Pick a subject with three or four large shapes. Limit the palette to five or six colors. Provide an outline so nobody has to draw freehand.
The step count matters too. Aim for 8-10 steps with one clear action each. "Paint the sky" is a step. "Blend the horizon" is a different skill and needs its own instruction.
If you want the underlying principles behind composition choices, the J. Paul Getty Museum's art education resources explain them clearly for non-specialists.
Where Each Approach Wins
Neither approach wins outright. The right call depends on learner type, teaching volume, and how much control you need over the design. The table below is a starting point, but the criteria underneath it matter more than the verdicts.
| Learner Type | Best Approach | Why |
|---|---|---|
| Studio running 2-3 classes weekly | Buying plans | Prep time outweighs subscription cost |
| Freelance instructor, occasional workshops | Hybrid | Template plus purchased designs |
| Corporate event planner | Buying plans | Consistency and speed matter most |
| Beginner painting at home | Free libraries | Low stakes, no deadline |
| Experienced instructor with a proven catalog | Manual | Full creative control |
| Teacher with a fixed curriculum | Buying plans, vetted | Needs alignment to learning objectives |
Quality Criteria Before You Buy
Before paying for any plan, score it against five criteria. A plan that fails two or more is not worth the subscription no matter how attractive the sample image looks.
- Skill progression. Does the plan build from block-in to detail in a logical order, or does it jump to a technique a beginner has not practiced?
- Learning objectives. Does it state what the guest should be able to do by the end, or does it only show a finished image?
- Demonstrations. Are the steps written as actions a non-painter can follow, with one clear instruction per step?
- Feedback points. Does it flag where students commonly go wrong, so you can correct the room before frustration sets in?
- Adaptability. Can you simplify or extend it for a mixed-skill group without rewriting the whole sequence?
A Manual Planning Workflow You Can Reuse
If you choose manual planning, do not improvise each week. Use a fixed workflow with checkpoints so quality does not drift.
- Set class length and skill level. A two-hour beginner class supports a simpler composition than a three-hour session.
- Choose a subject with clear shapes. Landscapes, sunsets, and simple still lifes block in easily. Complex figures do not.
- Paint it yourself first and time each stage. If you cannot finish in the slot, students cannot either.
- Write 8-12 plain-language steps. Anything longer loses the room.
- Build a shape guide. A faint outline lets beginners see where to block in.
- Lock the color list. Fewer colors means fewer mixing mistakes.
- Dry-run the instructions with a non-painter. If they get stuck, your students will too.
That is roughly three hours per new class. Do it once and you have a reusable plan; do it every week and the hours compound.
Measuring Whether It Worked
Whichever path you choose, track outcomes so you are not guessing. Three simple measures are enough for most studios: completion rate (what share of guests finish in the time slot), rebooking rate (what share book another class), and prep hours per class. If completion drops while prep hours rise, the approach is not working and it is time to change the mix. A purchased plan that lifts completion is worth more than its sticker price; a manual plan that saves cash but tanks rebookings is not.
Conclusion
The real challenge is not choosing between buying and planning. It is protecting your prep time while keeping classes consistent enough that guests finish and rebook. Manual planning gives you control; purchased plans give you speed. Most studios need both.
PaintPrompt was built for that gap. Describe an idea and get a class-ready design with a 10-step guide, a color list, and a printable teaching plan, all beginner-friendly and ready to teach. Start with the free trial and see how much of your prep week comes back.
Frequently Asked Questions
Is it better to buy painting lesson plans or create your own?
It depends on how often you teach and how much prep time you have. Buying painting lesson plans saves hours per class and gives you tested step-by-step instructions, color lists, and printable guides. Creating your own gives you full control over style and pacing but takes longer to build. If you teach more than once a week, purchased or generated plans usually pay for themselves in saved prep time.
What should a painting lesson plan include?
A complete plan covers the finished design, a step-by-step sequence (usually 8-12 steps), a color list with exact mixes, required supplies, a time estimate per step, and a printable guide for students. For beginners, include a shape or block-in guide so guests can see how to start. Plans that skip the color list or timing often cause classes to run long or leave students stuck mid-painting.
How long does it take to plan a beginner painting lesson manually?
Manual planning for a beginner class typically takes 1-3 hours: choosing a subject, testing the composition, mixing colors, writing steps, and timing a practice run. Multiply that by your weekly class count and prep time adds up fast. Tools that generate a class-ready design with a 10-step guide and color list cut that to minutes, which matters most for studios running recurring events.
Are ready-made painting lesson plans customizable?
Many are. Platforms like PaintPrompt let you describe your idea and adjust themes, while template packs can be edited in a document. Free libraries such as Blick offer fixed plans you adapt yourself. If customization matters, check whether the tool lets you mix your own ideas with generated designs rather than locking you into a fixed catalog.
How do you choose a painting project for a workshop?
Pick a subject with clear shapes and high contrast so beginners can block it in quickly, and keep the palette to 4-6 colors. Match difficulty to the event: corporate team-building favors bold, simple designs, while paint and sip nights can handle more steps. Test the project once yourself and time it, then confirm it fits your session length before committing.
Ready to stop losing evenings to lesson prep? Generate my class design with PaintPrompt and plan a full month of classes in minutes.