Printable Painting Instructions for Workshops: 2026 Guide
· Editorial Team · 16 min read
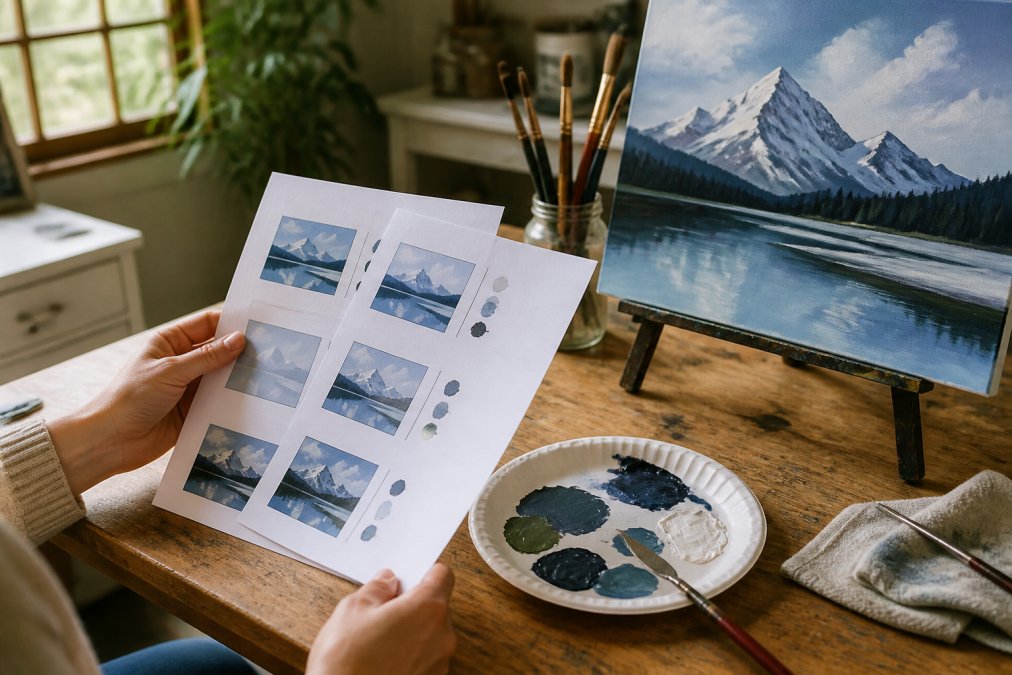
Table of Contents
- Why Printable Painting Instructions Make or Break a Workshop
- How to Teach a Painting Class for Beginners Using a Printed Guide
- Easy Painting Ideas for Beginners That Work on Paper
- What Belongs on a Paint and Sip Lesson Plan Template
- Your Painting Workshop Supply List for a Full Class
- Printable Painting Instructions for Workshops: Formats and Distribution
- How to Plan a Month of Workshops in One Afternoon
- Frequently Asked Questions
Last Updated: September 16, 2026
Why Printable Painting Instructions Make or Break a Workshop
A printable painting instruction sheet is the most reliable tool a workshop host can hand a room of beginners. It gives every guest the same reference, keeps the class moving, and removes the "wait, what do I do next?" panic. This guide from PaintPrompt breaks down how to build, print, and teach from painting instructions that work in a live room.
How to Teach a Painting Class for Beginners Using a Printed Guide
Teaching a painting class for beginners with a printed guide comes down to three phases: setup, the block-in and color mixing, and the finishing work. Get the sequence right and first-timers walk out with finished canvases.
Step 1: Set Up the Workspace and Hand Out Materials
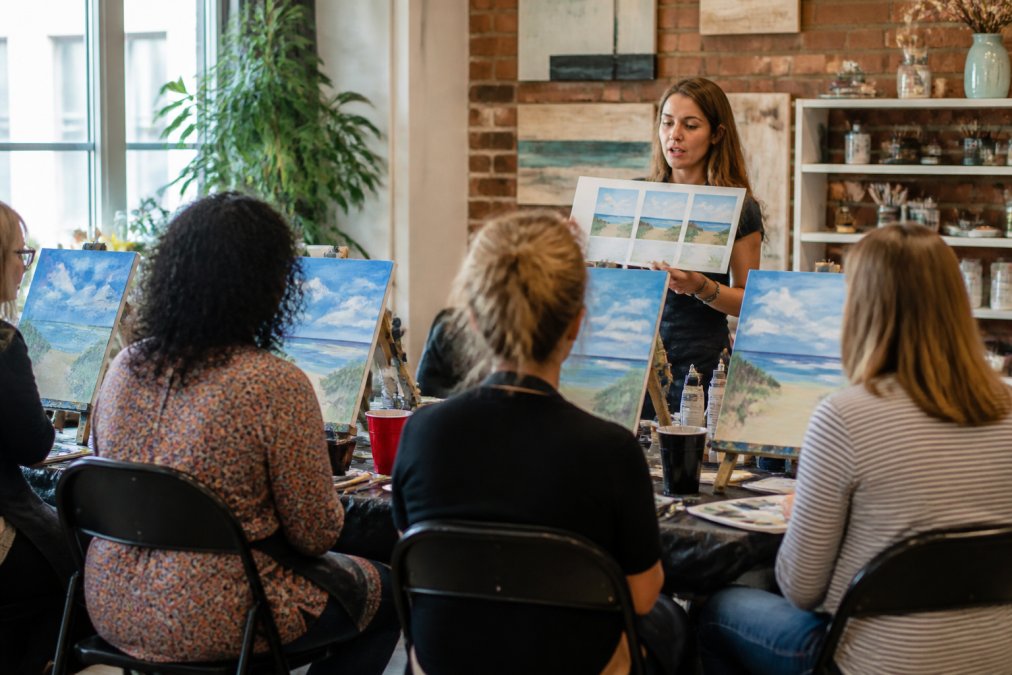
Lay out materials before anyone sits down. Place the printed guide at each station, face up, next to the canvas, and group shared items like water cups and paper towels in the center of each table.
Step 2: Walk Through the Block-In and Color Mixing
Start with the block-in: light pencil or thin paint shapes that establish composition before color goes down. Have guests follow the shape guide on their printed sheet, not your distant canvas at the front. Then move to color mixing: name each mix out loud and point guests to the matching swatch on their guide. Beginners mix muddy colors when they guess, so give them exact proportions in print.
Step 3: Guide the Finishing Touches and Cleanup
Finishing work is where beginners rush and ruin a good painting. Slow them down: walk through highlights and edge definition step by step, then build in a five-minute buffer before cleanup.
Easy Painting Ideas for Beginners That Work on Paper
Easy painting ideas for beginners should favor simple shapes, limited palettes, and forgiving subjects. Sunsets, single flowers, and silhouettes against a gradient sky work because a beginner can't easily "ruin" them with an imperfect stroke.
- Sunset over water: three color bands, one silhouette
- Single stem flower: one focal shape, minimal background
- Mountain range: overlapping triangles, gradient sky
- Abstract color field: no "correct" outcome, low pressure
What Belongs on a Paint and Sip Lesson Plan Template
A paint and sip lesson plan template needs six core elements: the finished image reference, a materials list, a numbered step sequence, a color palette with mixes, a timing breakdown, and a cleanup checklist. Skip one and you'll improvise mid-class.
The 10-Step Structure That Keeps a Class on Track
The 10-step structure is the backbone of any class-ready design. Each step should demo in under three minutes so the class never sits idle.
- Show the finished painting
- Hand out materials and guides
- Block in the main shapes
- Mix the base colors
- Fill the background
- Add the mid-ground
- Layer the foreground
- Add highlights
- Define edges
- Sign and clean up
Your Painting Workshop Supply List for a Full Class
A painting workshop supply list for a full class covers surfaces, paint, brushes, and the small items that get forgotten. Build it around your headcount, then add a buffer for guests who use twice the paint they should.
Core supplies:
- Canvas or heavy watercolor paper, one per guest plus spares
- Acrylic paint in your class palette, plus white and black
- Flat and round brushes in two sizes each
- Palette paper or disposable plates
- Water cups, paper towels, and aprons
- Printed guides, one per guest
Printable Painting Instructions for Workshops: Formats and Distribution
Printable painting instructions for workshops work best in three formats, and the right choice depends on class size, session length, and reuse. Match the format to the room before you design anything, because format drives page count, paper choice, and distribution.
File Prep That Prevents Print-Day Failures
Most print-day problems start in the file, not the printer. A few habits prevent nearly all of them.
- Set the page size before you design. Letter (8.5 x 11 in) is the default for most home and office printers. If you design at A4 and print on letter, margins clip and the palette swatch gets cut off. Pick one size and stay in it.
- Keep a 0.5 in margin on all sides. Consumer printers cannot print edge to edge, so anything inside the margin gets cropped.
- Export to PDF, not to an image file. A PDF holds vector text and embedded color; a JPG or PNG re-compresses and shifts colors.
- Embed fonts or convert text to outlines. If the printer substitutes a font, step numbers can reflow and break your numbering.
- Check the grayscale preview. Confirm the palette swatches are still distinguishable in grayscale; if not, add a text label under each swatch (for example, "cadmium yellow + touch of white").
Paper, Ink, and Lamination Trade-Offs
Paper choice affects how the guide behaves on a paint table, not just how it looks.
- Standard 20 lb bond paper is the cheapest option and fine for one-time handouts. It wrinkles if it gets wet and cannot be wiped clean.
- 24 lb to 32 lb paper holds up better under a canvas, stays flat when taped to an easel, and resists curling. The cost difference per sheet is small at class volumes.
- Cardstock (65 lb to 110 lb) works for folded table cards and any guide guests will handle repeatedly, though it does not fold cleanly at the heaviest weights.
- Lamination makes a guide reusable across dozens of sessions and wipeable after spills. The trade-off is cost and glare: glossy laminate reflects overhead lights and can make the palette hard to read at an angle, so choose matte.
Distribution Mechanics That Protect Your Pacing
- Place guides before guests arrive. Set one guide face up at each station next to the canvas. Handing guides out after the demo starts costs you two minutes of the room every time.
- Print one per guest plus 10 to 15 percent spares. For a class of 20, that is 22 to 23 copies, covering spills, late arrivals, and guests who want a second copy.
- Keep a digital PDF on hand. Email or text the PDF to guests after class so they can repeat the painting at home, which also gives you a reason to collect contact information for future sessions.
- Laminate only the guides you reuse. If you run the same design monthly, laminate; if every session is a new design, do not.
This is where a tool like PaintPrompt earns its place. Describe your class idea and it generates the design, a 10-step guide, a color list, and a printable teaching plan in one pass. Hosts plan a full month of classes in minutes instead of an afternoon, and the printable guide is ready to hand out as-is.
How to Plan a Month of Workshops in One Afternoon
Planning a month of workshops in one afternoon is realistic if you batch the work instead of planning class by class. Block out the afternoon, pick themes first, then generate all your guides in one sitting. The two things most planning guides skip are the ones that break a month: pacing a full room through a two-hour session, and sourcing materials in bulk without wrecking quality.
Pacing a Room of 10 to 20 Through a Two-Hour Session
A two-hour beginner session has a predictable shape. Most hosts find the following block structure keeps a room of 10 to 20 guests on track without rushing the finish.
| Block | Time | What Happens |
|---|---|---|
| Welcome and setup | 10 min | Guests arrive, aprons on, materials confirmed at each station |
| Finished-image reveal and demo | 10 min | Show the target painting, walk the 10 steps at a high level |
| Block-in | 20 min | Main shapes in pencil or thin paint |
| Color mixing and background | 25 min | Base colors mixed, background filled |
| Mid-ground and foreground | 25 min | Layers built, depth established |
| Highlights and edges | 15 min | Finishing work, slowed down deliberately |
| Sign, photo, cleanup | 15 min | Signature, group photo, materials cleaned and packed |
- Call out step numbers as you demo. When a guest falls behind, they find step 4 on the page and catch up without flagging you down.
- Use a visible timer. A countdown on a phone or a wall clock lets guests self-regulate; announce the time remaining at each block transition.
- Walk the room during independent work. Circulate during block-in and color mixing, when beginners get stuck most often.
- Have a fast-finisher task ready. A simple optional step, like adding a signature flourish or a few texture strokes, keeps early finishers engaged without changing the composition.
Budget-Friendly Material Sourcing for a Full Month
Sourcing for a month at once is cheaper and faster than sourcing class by class, but only if you know where volume discounts are and where cutting cost backfires.
Where bulk buying pays off:
- Canvas and paper. Buying in packs of 10 to 12 rather than singles drops the per-unit cost noticeably. For a month of four classes at 20 guests each, that is 80 canvases plus spares, well into pack-pricing territory.
- Acrylic paint in larger tubes. A 4 oz tube costs less per ounce than a 2 oz tube and covers more guests. Stick to a fixed class palette so you buy fewer colors in larger sizes.
- Palette paper and disposable plates. Sold in bulk packs of 100 or more; disposable plates from a grocery or warehouse store are a legitimate, often cheaper substitute.
- Brushes in multi-packs. Buy flat and round brushes in packs that include two sizes each. Reusable for months if you clean them properly.
Where cutting cost backfires:
- Cheap brushes. Frayed bristles make clean edges nearly impossible, and guests blame themselves instead of the tool. Spend a little more and reuse them.
- Thin, low-pigment paint. Beginners mix muddy colors when the paint is weak, and the finished painting looks flat. A mid-grade acrylic with decent pigment load is the floor.
- Thin paper. Anything below 90 lb buckles under acrylic. Use canvas or heavy watercolor paper (140 lb or higher).
The One-Afternoon Batch Plan
With pacing and sourcing settled, the batch plan is straightforward. Block out three to four hours, pick themes first, then generate all your guides in one sitting.
| Planning Task | Time Needed | Frequency |
|---|---|---|
| Choose monthly themes | 20-30 minutes | Once per month |
| Generate designs and guides | 30-45 minutes | Once per month |
| Print and assemble handouts | 30 minutes | Once per month |
| Order supplies in bulk | 20 minutes | Once per month |
| Per-class prep | 10 minutes | Each class |
Frequently Asked Questions
What should be included in a professional painting workshop handout?
A strong handout includes a finished reference image, a numbered step-by-step sequence, a color list with mixing notes, and a simple shape guide for blocking in the composition. Add a supply list and a short note on drying times so guests know what to expect. Keep the language plain and the steps visual. One page per painting works well for a two-hour session, and printing it in color helps beginners match their palette to yours.
Are printable painting instructions effective for paint and sip events?
They are, especially when guests work at different speeds. A printed guide lets fast painters move ahead without waiting and lets slower ones catch up without stopping the room. Instructors also spend less time repeating directions. The key is designing the steps around simple shapes and a limited color palette so beginners can finish in about two hours. Printed guides also double as a take-home reference for guests who want to repaint the design later.
How do I create a step-by-step painting guide for beginners?
Start with a finished design and work backward. Break the painting into 8 to 12 steps, each one small enough to complete in a few minutes. Photograph or sketch each stage, then write one or two sentences per step using plain language. Include a color list and a shape guide for the initial block-in. Test the guide with someone who has never painted before; if they get stuck, the step needs to be simpler or split in two.
What tools can help me generate painting lesson plans quickly?
Dedicated lesson-planning platforms can turn a short description of your idea into a complete class-ready design with a 10-step guide, a color list, and a printable teaching plan. That removes most of the prep work for hosts running two or three classes a week. PaintPrompt offers a free trial, and you can check current pricing on its website. Pair the generated plan with your own studio notes to keep your signature style in the class.
Running a workshop without a printed guide means repeating yourself all night and watching guests fall behind. PaintPrompt generates a class-ready design with a 10-step guide, color list, and printable teaching plan from a single description, so you can plan a full month of classes in minutes and hand every guest instructions they can actually follow. Start with the free trial, then get started with PaintPrompt and generate my class design for your next session.